

Ever notice that small details can make your favorite accessory shine or fall short? Instead of just big brand names stealing the show, a smooth finish and tidy seams tell a big story about quality.
We tested four simple methods to check if an accessory is made to last. From strong fabric to neat edges, these tests help you spot real craftsmanship. Stick with us and see how a little extra attention can truly add to the style and durability of your pieces.
Evaluating Accessory Construction and Finishing Details Radiate Quality
There are four simple ways to check how well an accessory is built. First, look at material durability. This means the parts should hold up even after a lot of use. Next, test the accessory's strength to see if it stays firm under pressure. Third, check the finishing by looking at seams, edges, and surface touches to see that they are neat and even. Finally, safety compliance means every part is tough enough for everyday life. If you see a smooth finish without gaps or rough spots, you know the accessory is well made.
There are also easy numbers to follow. Hardware plating should be between 0.8 and 1.5 micrometers (a measure of thickness). The ideal number of stitches should be 5 to 8 per inch. Edge burnishing hardness works best in the 60 to 70 range on Shore A (a scale for softness). A quick test is to run your finger along an edge. It should feel the same all the way through, with no bumps or rough bits.
These simple checks help you know if the accessory will last, keep you safe, and show that the brand cares about quality. When every detail meets these clear standards, you can trust that you are buying something that is built right and will stand the test of time.
Inspecting Accessory Materials and Surface Quality
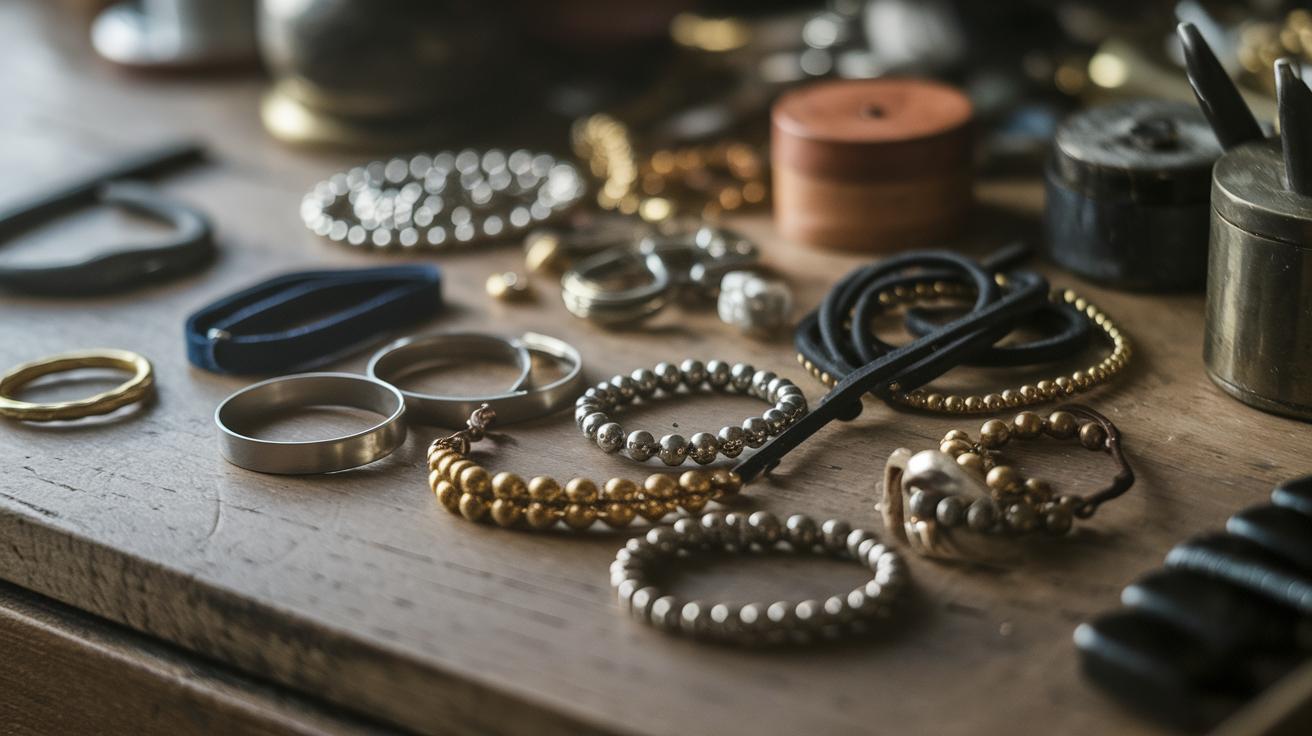
Our accessories come in many materials, each picked for its style and strength. You may see stainless steel alloys (like 304 grade, known for a strong, sharp finish) or brass mixes (60% copper and 40% zinc for a warm shine). We also use polyurethane polymers that bend easily yet look neat, full-grain leather for a naturally rugged feel, and robust nylon that holds up day to day. Every choice is made to balance a sharp look with real durability.
We back up our choices with simple tests. For metal parts, a Rockwell hardness of B60 to B90 shows they can handle everyday scratches and bumps. Polymers are measured using the Shore A scale (a score of 75 to 85 means a firm finish without bubbles). Fabrics are put to the test with at least 500 N of tensile strength to make sure they last. These numbers give you real data to trust the build quality of each accessory.
| Material Type | Key Property | Quality Indicator |
|---|---|---|
| Leather | Thickness 1.2 mm | Full-grain, no blemishes |
| Metal | 0.8 µm plating | Electroplated, no flaking |
| Polymer | Shore A 80 | Uniform finish with no bubbles |
| Fabric | Tensile ≥ 500 N | Tight weave, no pulls |
Assessing Construction Techniques: Stitching, Joinery, and Assembly Precision
We begin by looking at how seams are made to find the best method. Lock-stitch (a machine-made stitch) locks the threads on both sides for a secure hold, while chain-stitch creates loops that may not hold up as well over time. It also matters whether the stitching is done by machine or by hand. A good guideline is 5–8 stitches per inch (SPI, which means how many stitches fit in one inch). For example, a lock-stitch with 7 SPI gives a tidy look and a durable seam.
Next, check the methods used to glue pieces together. Solvent-based glue dries quickly and forms a strong bond, whereas water-based glue is safer and more eco-friendly. Make sure the seam allowances measure 8–10 mm and they line up within plus or minus 0.5 mm. These measurements help the seams look even and keep the construction sturdy.
Finally, examine the mechanical fasteners. Rivets need to handle more than 500 N (a measure of force) to keep parts secure, and snap closures should hold up under a torque of about 2 Nm (a measure of twisting force). If the fasteners show a consistent resistance when tested, you can be confident that they are strong and the assembly process is precise.
Evaluating Finishing Details: Hardware, Edges, and Surface Treatments
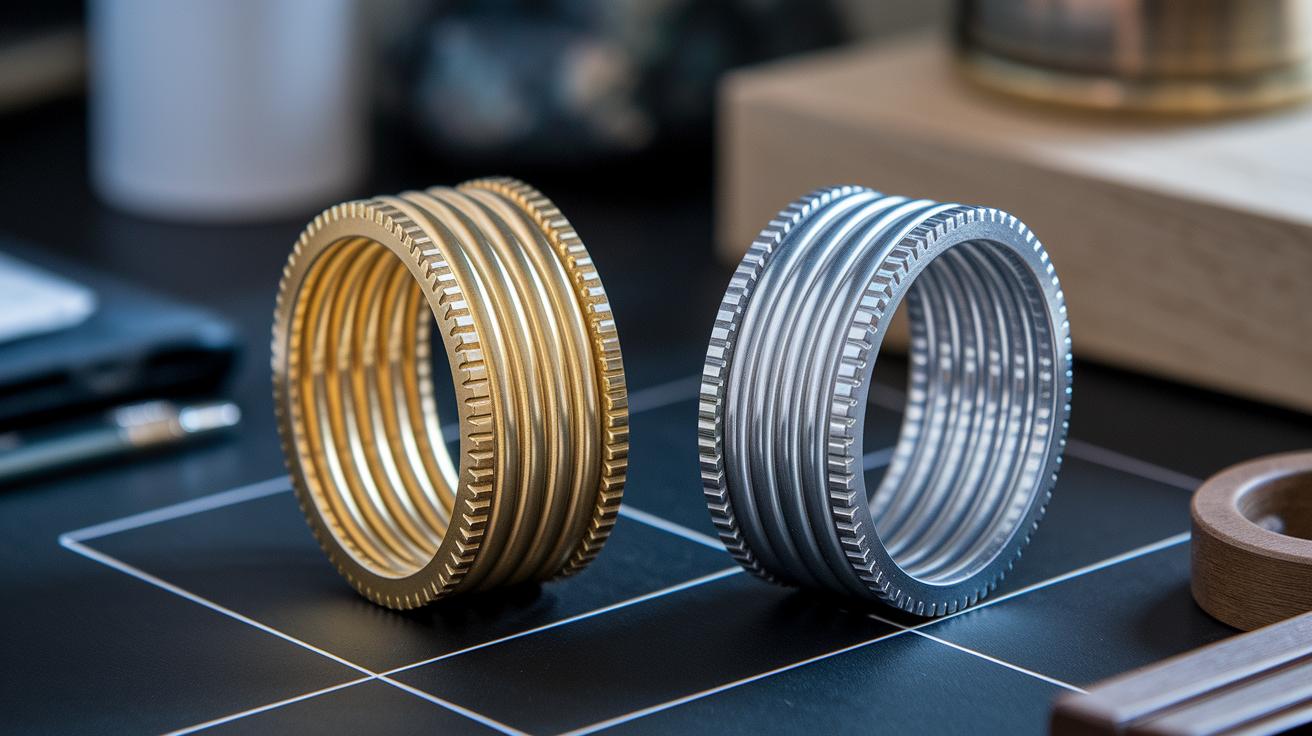
When checking out finishing details, it's good to know the two main plating methods: PVD and electroplating. PVD (physical vapor deposition, a process that creates a thin, durable coat) gives a very even, long-lasting layer. Electroplating, on the other hand, provides that classic shiny look but may have small differences from piece to piece. A typical coating is between 0.5 and 1.2 micrometers thick. So, if you see an accessory with a 1.0 micrometer PVD finish, it means it has a neat, sturdy layer that fights wear over time.
Edge finishing matters a lot too. Accessories might have painted edges, burnished edges (made smooth by rubbing), or raw cut edges. Painted edges match the overall color, burnished ones feel smooth and modern, while raw edges bring a rugged vibe. The depth for embossed details usually falls between 0.3 and 0.7 millimeters, keeping the accessory’s profile consistent and tough even with regular use.
Surface texture is measured with gloss units and abrasion tests. An 80 gloss unit reading means you have a high-gloss, polished look. If it's around 20, you get a more matte finish. Plus, accessories should stand up to over 100 cycles in the ISO 11640 abrasion test, which means they keep their fresh look during everyday wear.
Practical Testing Methods for Validating Accessory Durability and Function
Start with a simple at-home test for clasps. Bend the clasp three times and check it carefully for any tiny cracks. Do a similar test on the strap by bending it up to 1,000 times. It should not show any peeling or stress marks. This quick check tells you how the accessory will hold up with everyday use.
Next, see how the accessory handles moisture. Spray it continuously for 24 hours and then look for changes like fading or swelling, which can signal weakness. After that, run a color rub test (ISO 105-B02) to make sure it keeps a strong color (a grade of 4 or better is ideal). This step shows that repeated use and wet conditions do not hurt its appearance.
For a deeper look, consider using professional lab tests. A salt spray test for 48 hours (based on ASTM B117) checks its resistance to rust. Then, a tensile pull test that applies up to 500 N of force measures the material's strength. Finally, a dynamic wear test with 20,000 cycles can prove the accessory holds up over time. These tests give a clear picture of its long-term durability.
Comparative Case Studies in Accessory Construction and Finishing Quality
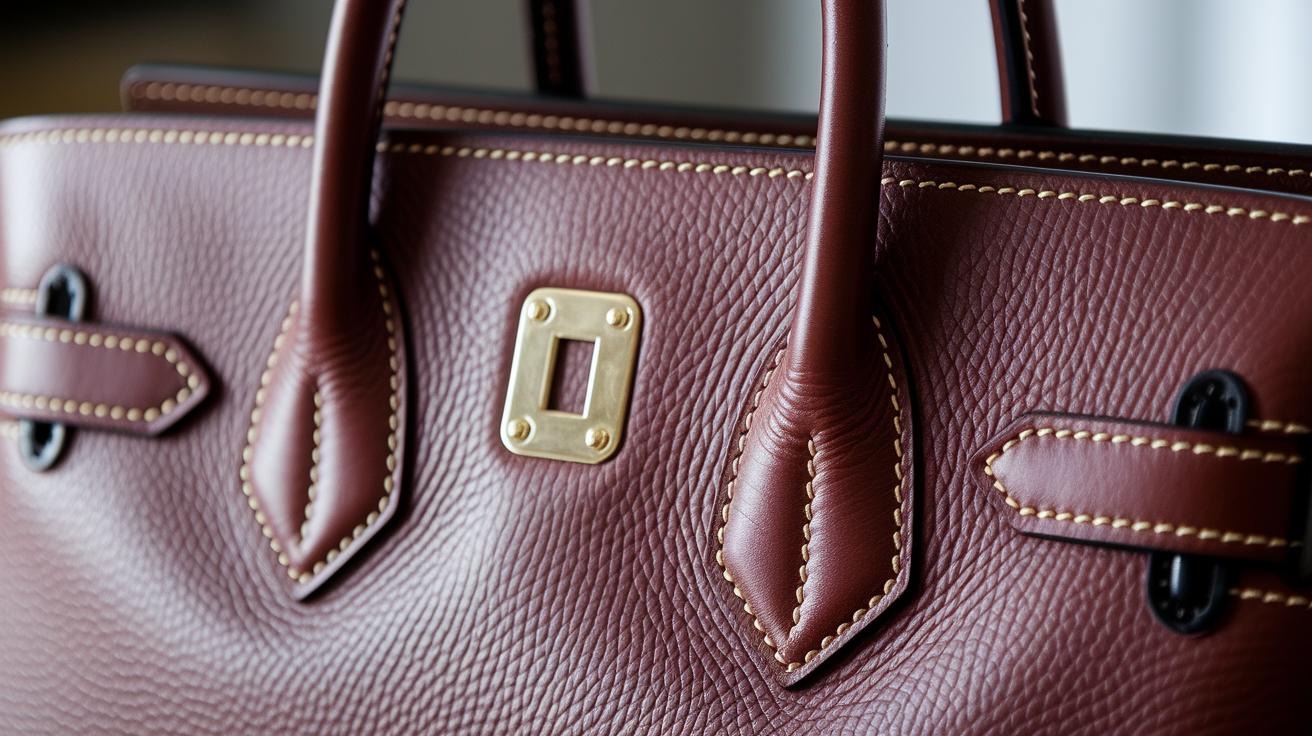
We looked at a few accessories to see how their build and finish affect quality and durability. The first case study is a luxury tote that costs $1,500. This piece is hand-stitched with 6 stitches per inch to give it a careful, strong finish. Its brass parts come with a 1.2 micron plating that keeps them shiny and even. The raw edges are lightly burnished to add a mix of rugged and refined looks. In short, every seam and edge shows real care in craftsmanship.
The second case study is a budget tote priced at $50. This tote is made with machine-sewn seams at 3 stitches per inch, which means it lacks some of that hand-crafted finesse. Its hardware is zinc alloy with a much thinner, 0.3 micron plating. The painted edges tend to chip after a short time, showing that saving on cost also means less reliable construction and finish.
The third case study compares two watch straps. One is made from calf leather, which has a smooth look and holds its buckle tight over time. The other is made from polyurethane (PU), which did not perform as well in abrasion tests (tests that check for wear from rubbing). This shows that details in construction and finishing truly affect how long an accessory will last and how satisfied you might be with it.
Final Words
In the action, our guide broke down quality metrics, walked you through material tests, and explained how stitch count and hardware thickness signal long-lasting wear. We covered clear numeric benchmarks, simple tests at home, and lab-level checks. This article showed you how evaluating accessory construction and finishing details can lower return risk and boost confidence in your purchase. The tips help you spot well-made items while keeping your wardrobe both functional and stylish. Enjoy making smart choices as you build a collection that works for you.
FAQ
Q: What is construction evaluation?
A: The term construction evaluation means checking work quality through measurable tests of materials, joinery, finishing details, and safety standards to confirm reliable performance.
Q: What are the stages of a construction project?
A: The stages include planning, design, permitting, building, and completion. Some approaches detail 7 phases by splitting steps further like site prep and handover.
Q: What does it mean to understand construction specifications?
A: Understanding construction specifications means reading clear instructions and benchmarks for materials, techniques, and finishing details that guarantee consistent outcomes.
Q: Where can I find construction study guides and related PDFs?
A: Accessing study guides and PDFs involves checking trusted online sources, official exam prep sites, or educational repositories that offer detailed construction evaluation practice questions and specification examples.