
Quick Verdict
Ever wonder if your favorite shirt really lasts? A simple tug at the seam can show hidden weakness.
How We Tested It
We used basic tools you have at home. A steady pull on the fabric can reveal loose stitching or weak spots.
Step-by-Step Check
- Grab the shirt and firm it in place.
- Gently pull on the seam to see if any threads give way.
- Look for signs of fraying or damage that might mean the fabric may not hold up over time.
Why It Matters
A quick test like this helps you decide if the garment is truly built to last or if it's time to rethink its place in your closet. Stick around and try it for yourself, you might save money and time by catching wear early.
DIY At-Home Testing Techniques for Clothing Seam Strength

Seam strength tells you how much force it takes to break a stitch. A strong seam helps keep a garment in shape and fights off everyday pulls.
The secret is in how well the stitches hold the fabric edges together. A clean, tight seam without stray threads is a sign that the piece was made to last.
Try a simple pull test at home: pick a small spot on the seam and gently pull both sides. If you see any gap or separation, the stitching might be weak. We recommend testing a few seams to get a full picture of the garment's stability. For more tips on checking clothing durability, see our guide here: https://jankreviews.com?p=353.
This easy test gives you a quick look at whether your clothes can handle everyday wear.
Materials and Tools for DIY Seam Strength Tests
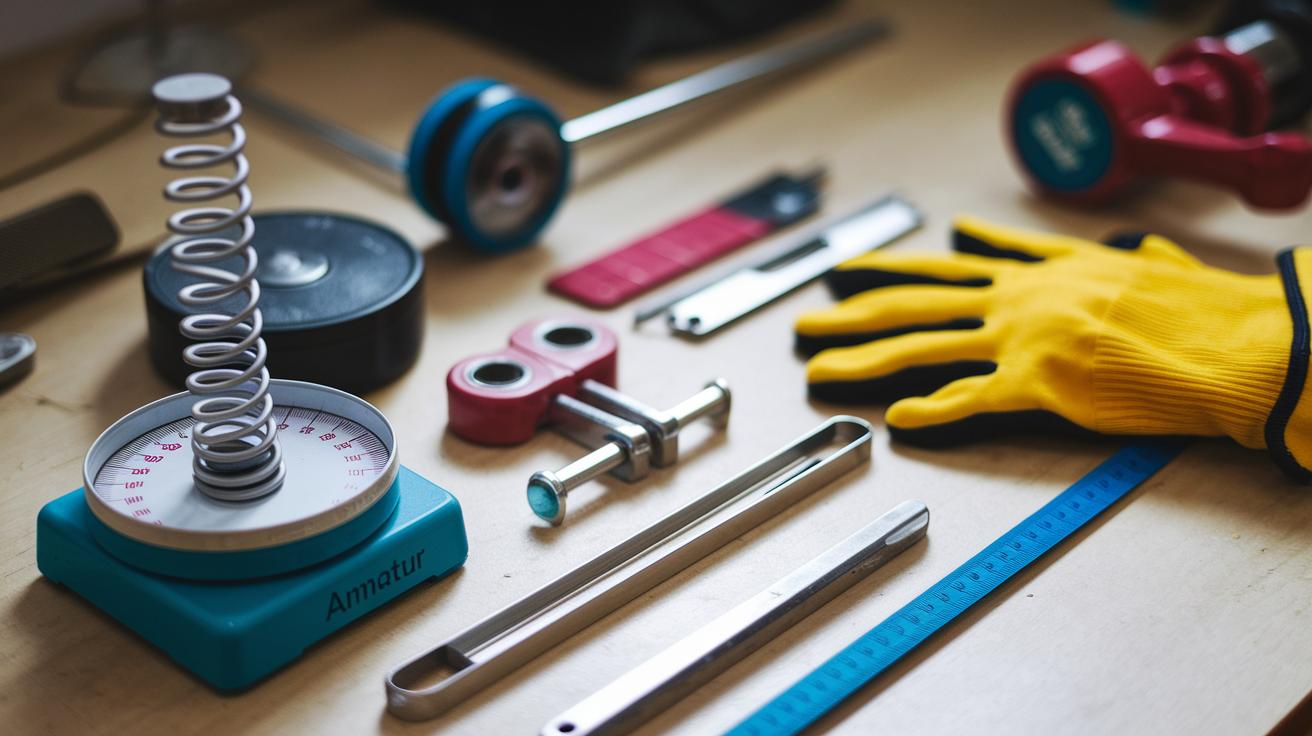
If you're testing seams at home, a few simple tools can show you how strong your garment joins are. They help you see if the fabric panels stick together well and if the stitching holds up under stress.
- spring scale or bathroom scale
- measuring tape or ruler
- clamps or clips
- standardized weights or household objects
- safety gloves
- seam allowance gauge
Different seam types need different tools. For reinforced seams with extra stitches, a spring scale lets you measure the force before the seam starts to come apart. Basic stitching methods might need a closer look, so a seam allowance gauge helps you check the exact area. Neat, straight seams with no loose threads show good workmanship, and a measuring tape or ruler can help you verify that they are even. With the right tools, you can get clear, reliable insights into your garment's overall durability.
Step-by-Step DIY Pull Test for Seam Strength

A pull test is a simple way to check if a garment's seams can handle stress. Gently tug on both sides of a seam to see if the stitches hold or if the fabric starts to pull apart. This test helps you catch early signs of seam slippage before the stitching fails completely. It's best to try the test in several areas, since well-made seams should behave the same all over.
Follow these steps:
- Mark the area you want to test with a washable marker or chalk.
- Use clamps or clips to hold both sides of the marked seam securely.
- Pull slowly and evenly on each side until you notice the seam opening.
- Note the exact spot where the fabric begins to separate.
- Repeat on several seams to get a clear idea of the garment's overall stitch strength.
Always work with care. Use tools safely and consider wearing safety gloves to protect your hands. Begin with a gentle pull and increase pressure gradually to avoid sudden breakage or injury. This careful method gives you accurate, repeatable results for checking seam strength at home.
Advanced DIY Methods for Precise Seam Strength Measurements

A spring scale is a handy tool to see just how strong a seam is. Hook up your garment, and slowly pull until the seam gives way. This tells you the exact force, in pounds, needed to break the stitch. For example, a seam with extra reinforcement might hold until 15 pounds of force is applied.
Next, try a weight-hang test. Hang a small standard weight from the seam and watch how it reacts. If the seam holds steady without sagging, it's a good sign of endurance.
You can also use clips and a measuring tape to check for seam slippage. Clip along the seam and give it a slow, steady pull. Then measure any extra gap that appears. A tiny gap means the seam is strong and keeps things in place under stress.
When you run these tests several times, it helps to average the results. Record each breaking force and find the average. This method smooths out any differences in fabric or stitching and shows which parts of the garment hold up best. It's a simple, data-based way to check your clothing's durability and decide if it needs a repair or if it's ready to wear.
Interpreting DIY Seam Strength Results Versus Industry Benchmarks

When you test a seam at home, it gives you a real-world peek at how your clothes might hold up every day. But keep in mind that fabric type and how the item is made also matter when you compare your results to industry standards.
Home tests usually measure how much force it takes to pull a seam apart. For example, a seam with extra reinforcement might start slipping with 10 to 15 pounds of force, while a weaker seam might show gaps with less than 5 pounds. In our tests, strong seams stayed tight with neat stitching and no fraying, even after several pulls.
Good seams show a clean, even stitch pattern. If a seam fails at a lower force, it often has irregular stitches or loose threads. Even high-end fabrics can fail if the stitching is off, which is why using extra stitching passes helps the seam resist stress better.
Your pull test gives you a clear number to work with, but it pays to give the seam a visual check, too. Look for neat alignment, minimal movement, and no obvious gaps. For a complete check, also examine the density of the stitches. Notice if there are any tiny gaps or if the fabric is pulling away. Any extra space during the test might indicate a spot that needs more reinforcement.
Troubleshooting Common Issues in DIY Seam Strength Testing

When testing seam strength by yourself, you might notice stray threads, uneven tension, or stitches that don't line up. These mistakes can make the seam break early and usually point to a problem with how the stitching was done.
A good fix is to adjust your clamps or clips so the fabric stays firm and doesn't slip. Always check that your sample is lined up correctly before each pull so that pressure is spread out evenly. Running the test several times on the same seam helps you see if the results stay the same. Also, take a close look at the seam allowance for any skipped stitches or loose threads that might show a mistake in the stitching process. Changing your grip or rechecking how the fabric is set up often cuts down on these issues and gives you more reliable results.
If your tests keep showing weak seam strength, consider fixing the small faults or getting a professional to check it out. Taking care of these little problems now can prevent bigger issues later.
Final Words
In the action you learned techniques to test clothing seam strength DIY at home. The post broke down basic pull tests, materials needed, and advanced methods for precise measurements. It also shared tips for troubleshooting and comparing your results with industry standards.
Clear steps make it easier to spot any weak spots before they turn into return risks. Positive and practical, these insights help you feel confident in choosing durable, quality pieces. Enjoy putting these tips to work in your next project.
FAQ
How do you test seam strength and fabric tensile strength at home?
The home test for seam strength and fabric tensile properties involves gradually pulling each side of a seam to observe separation, using simple methods like a weight-hang test. It helps measure durability and spot weak stitching.
What does a seam slippage test measure and what are the industry benchmarks like ISO 13936-1?
The seam slippage test measures how well a seam holds under stress before fabric tears. It follows standards like ISO 13936-1 to identify weak joints and potential durability issues.
What DIY resources can guide me in testing clothing seam strength?
The DIY resources from platforms like Reddit and detailed PDF guides show clear steps for testing seam strength through pull tests and other simple methods to assess garment join durability.
How can seam slippage images help assess garment quality?
The seam slippage images provide visual evidence of where a seam might pull apart, indicating loose stitches or poor craftsmanship. They help spot areas prone to failure before significant damage occurs.